
Appearance
Running Your First Payroll
FoxCLM's payroll system generates pay periods automatically from session assignments and staff rates. You pick a date range, and FoxCLM counts every assigned session, applies the configured rates (hourly, per-session, commission), and shows the breakdown. You review, approve, and mark as paid.
This tutorial walks through creating and processing a payroll period. Takes about 5 minutes.
Prerequisites:
- At least one staff member with payroll rates configured (see Inviting a Collaborator and tick "Invite as workspace member")
- Sessions assigned to that staff in the period you want to pay (see Your First Session for session assignment)
1. Open the Payroll page
Click Payroll in the sidebar (under BILLING).
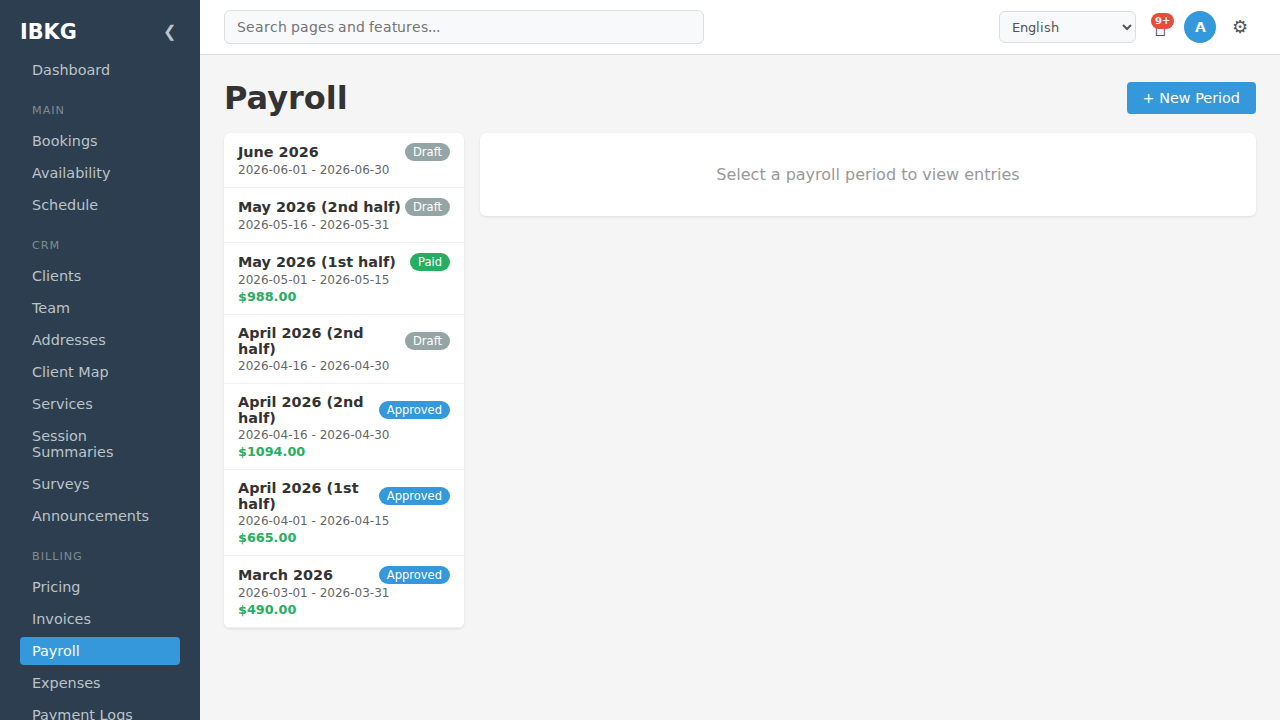
The Payroll page shows a list of pay periods on the left. Each card has:
- Label - the period name (defaults to a month-based name like "March 2026")
- Date range - start and end
- Status badge -
Draft,Approved, orPaid - Total amount (shown once calculated)
The right side shows the entries for the currently selected period, or an empty state if no period is selected.
Click + New Period in the top-right.
2. Create a payroll period
The New Payroll Period modal opens:
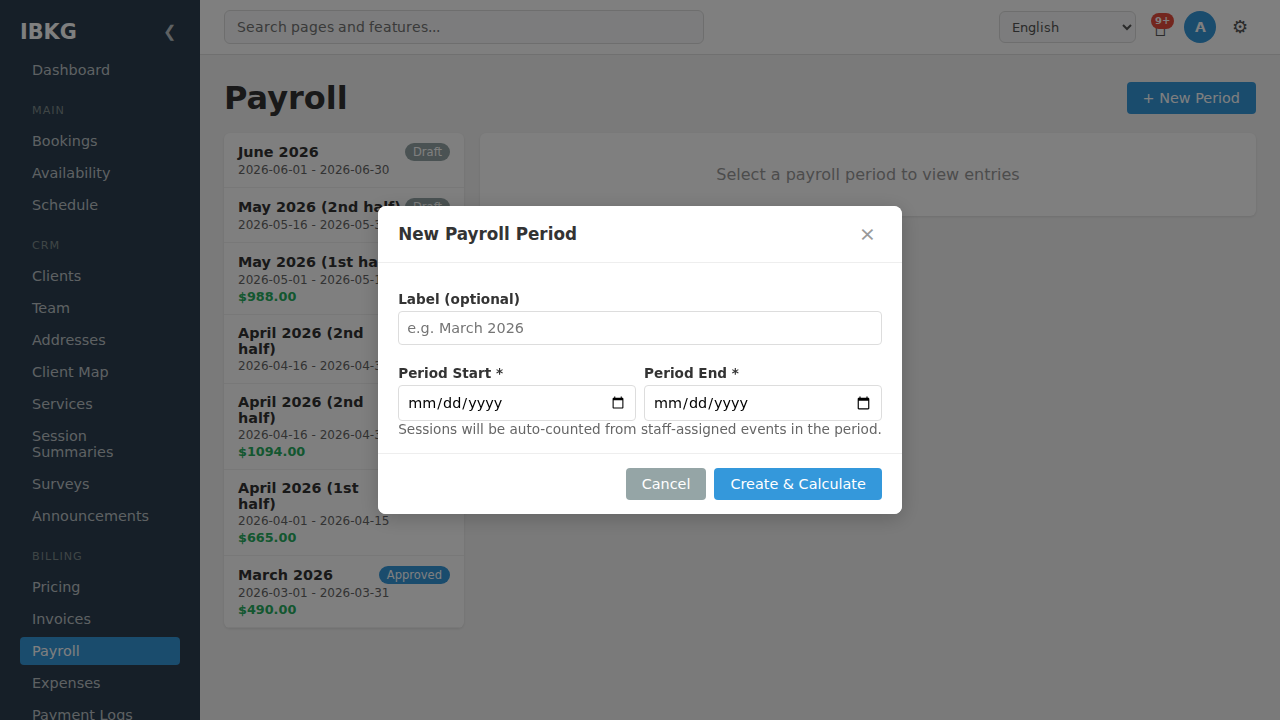
Fields:
- Label (optional) - what you'll call this period on the list. If blank, FoxCLM uses the date range.
- Period Start (required) - first day of the pay period
- Period End (required) - last day of the pay period
Tip text: "Sessions will be auto-counted from staff-assigned events in the period."
How pay is calculated
When you click Create & Calculate, FoxCLM:
- Finds every session between Period Start and Period End that's in status
Occurred(by default). - For each session, lists every assigned staff member.
- Per staff, applies:
- Session count x Session rate = session pay
- Hours worked x Hourly rate = hourly pay
- (session pay + hourly pay) x Commission % = commission pay
- Sums all three to produce Gross pay per staff.
- Creates one row per staff in the period's entries table.
Staff with no assigned sessions in the range don't appear in the payroll entries.
Click Create & Calculate to generate.
3. Review the period
Click any period on the left to see its details on the right:
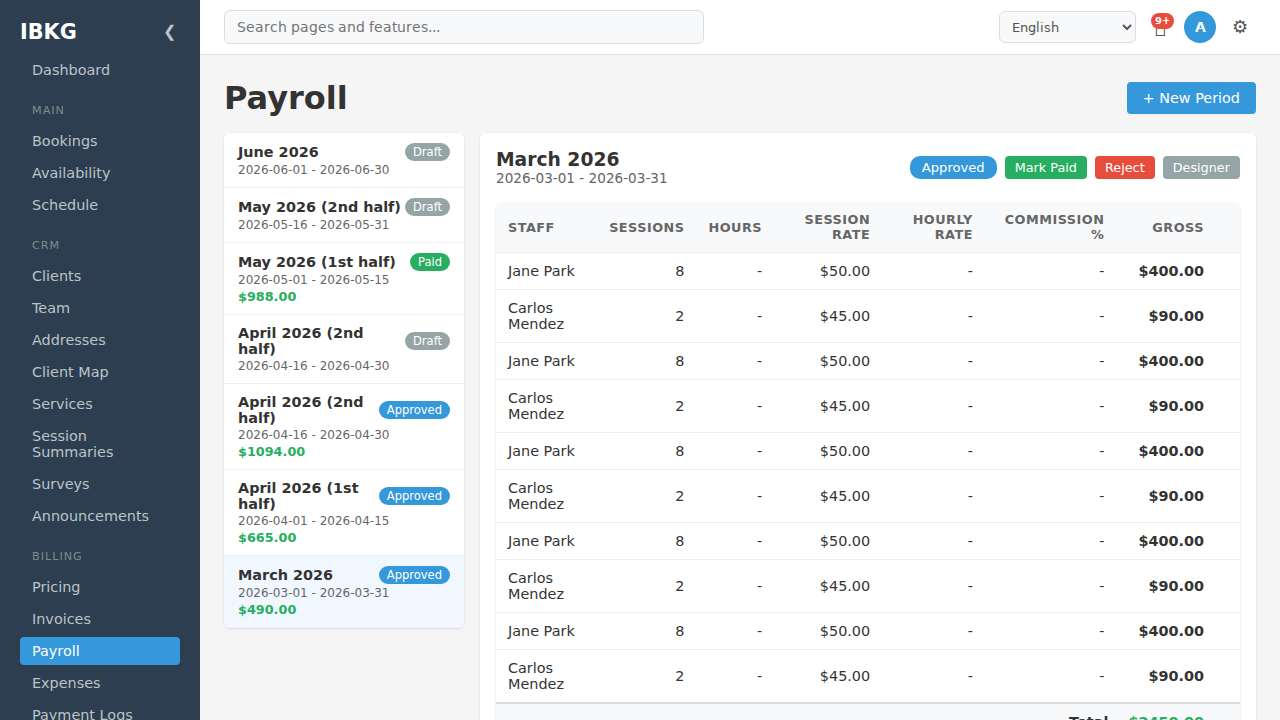
The detail panel shows:
- Header - period name, date range
- Status / action buttons (top-right):
- Approved / Draft / Paid badge
- Mark Paid - advance to paid (green)
- Reject - return to draft (red)
- Designer - customise the payroll statement layout
The entries table has one row per staff member per session group, with columns:
| Column | What it shows |
|---|---|
| Staff | Staff member name |
| Sessions | Count of assigned sessions in the period |
| Hours | Total hours worked (summed from session durations) |
| Session Rate | Per-session rate for this staff |
| Hourly Rate | Per-hour rate for this staff |
| Commission % | Commission percentage on top of session + hourly pay |
| Gross | Total owed to this staff |
The bottom of the table shows the period total:
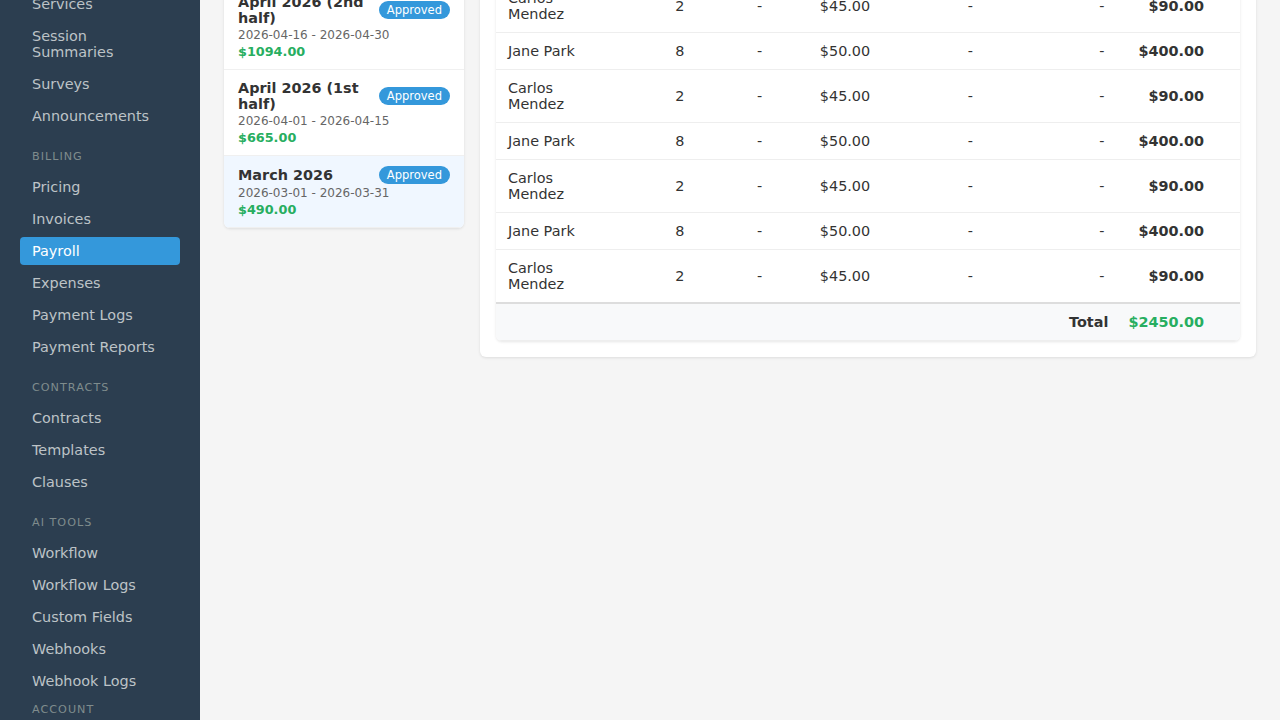
In this example the period total is $2,450.00 - the sum of every row's Gross column.
4. Edit an entry (optional)
Hover over any row to reveal an Edit button. Click it to adjust:
- Session count
- Hours worked
- Session rate
- Hourly rate
- Commission %
- Notes (internal comment, e.g. "includes bonus for covering colleague")
Edits override the auto-calculated values. Use this for bonuses, deductions, or corrections.
5. Approve the period
If the numbers look right, click Approve. The period moves from Draft to Approved.
Approving doesn't pay anyone - it just locks the numbers in so they don't change if you re-run the calculation. Staff can see approved periods in their Staff Portal.
If you've set up a workflow with a send_payroll_notification action on the Draft -> Approved transition, FoxCLM emails each staff member their pay breakdown automatically.
6. Process the actual payment
This is out-of-band. Pay your staff via:
- Bank transfer
- Cash
- Check
- Payroll service (Gusto, Rippling, Wagepoint, etc.)
FoxCLM doesn't move money - it just tracks what's owed.
7. Mark as paid
Once the money has left your bank account, click Mark Paid on the period. The status moves from Approved to Paid.
A workflow Approved -> Paid transition can fire send_payroll_notification again (with a "payment confirmed" template) or create_notification for an in-app receipt.
8. Customise the pay slip
Click Designer to open the document designer on the payroll statement. The designer works the same as for invoices - drag fields (staff name, period, sessions, hours, totals), style them, and save as a template.
Common additions to a pay slip:
- Company header with logo
- Staff name and period dates
- Itemised sessions list
- Hourly / session / commission breakdown
- Total gross pay
- Payment method (Bank Transfer / Cash / etc.)
- Signature block
Click Download PDF on any staff's detail to generate their individual pay slip.
9. What staff see
In their Staff Portal, staff see only their own periods:
- Period dates
- Sessions that contributed (date, time, client, rate applied)
- Hourly / session / commission breakdown
- Gross pay
- Payment status (Draft / Approved / Paid) and date
Staff cannot see other staff's payroll.
Tips
- Run payroll at a consistent cadence. Weekly, bi-weekly, or monthly - pick one and stick to it. Staff expect predictability.
- Approve and mark paid in the same sitting to minimise the window where staff see "Approved but not paid" which can confuse them.
- Use the label field to be explicit: "April 2026 (1st half)" is clearer than "2026-04-01 to 2026-04-15".
- Re-open a period by clicking Reject if you notice a mistake after approval. Fix the entries, re-approve.
- Set up workflow actions to send payroll statements automatically on approval - saves a manual email per staff per period.
What's next
- Inviting a Collaborator - add staff with rates if you haven't yet
- Designing a Custom Invoice Template - the same designer works for pay slips
- Workflow Actions - automate payroll notifications