
Appearance
Adding Your First Client
Clients are at the heart of everything in FoxCLM - sessions are scheduled for them, invoices billed to them, and share links generated for them. This tutorial walks through creating your first client record.
Takes about 3 minutes.
1. Open the Clients page
Click Clients in the sidebar (under CRM).
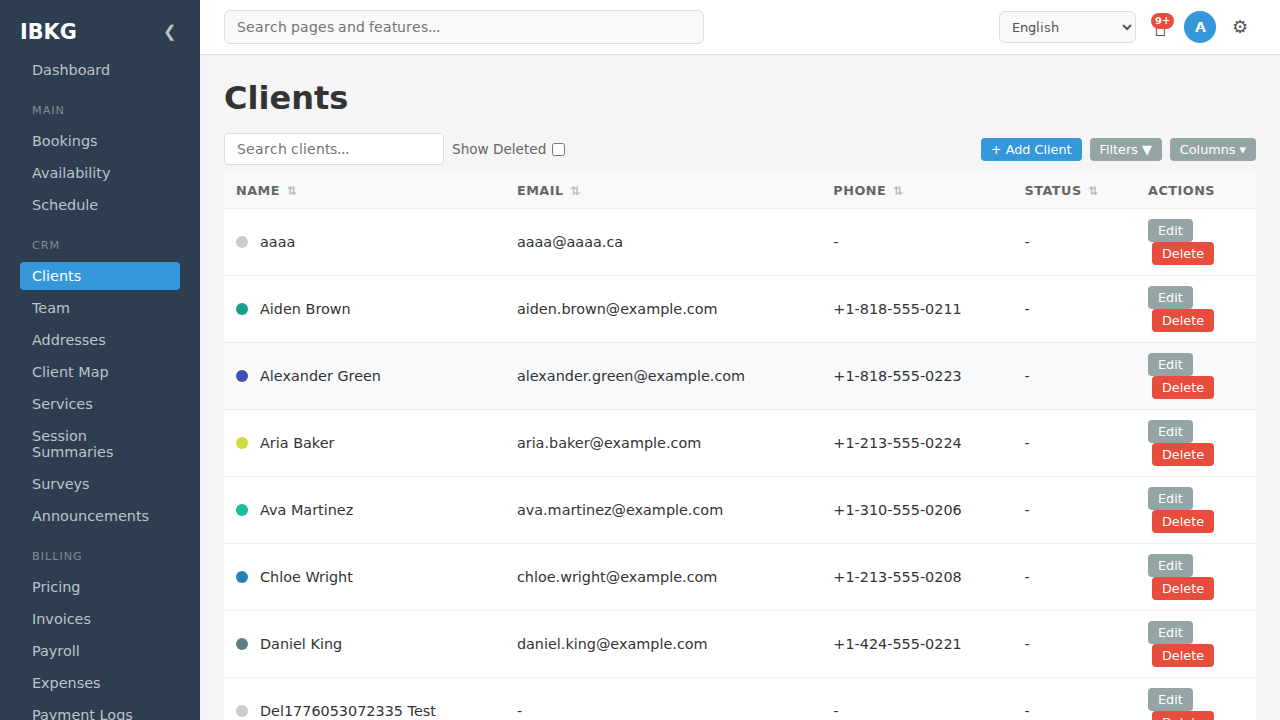
The Clients page shows:
- Search bar - type to filter by name, email, phone, or status
- Show Deleted - toggle to reveal soft-deleted clients
- + Add Client - open the new-client modal
- Filters - narrow by status, newsletter opt-in, or custom field values
- Columns - toggle which columns are visible
- The client list itself, each row with a coloured status dot, name, email, phone, status, and action buttons
Click + Add Client in the top right.
2. The new client modal
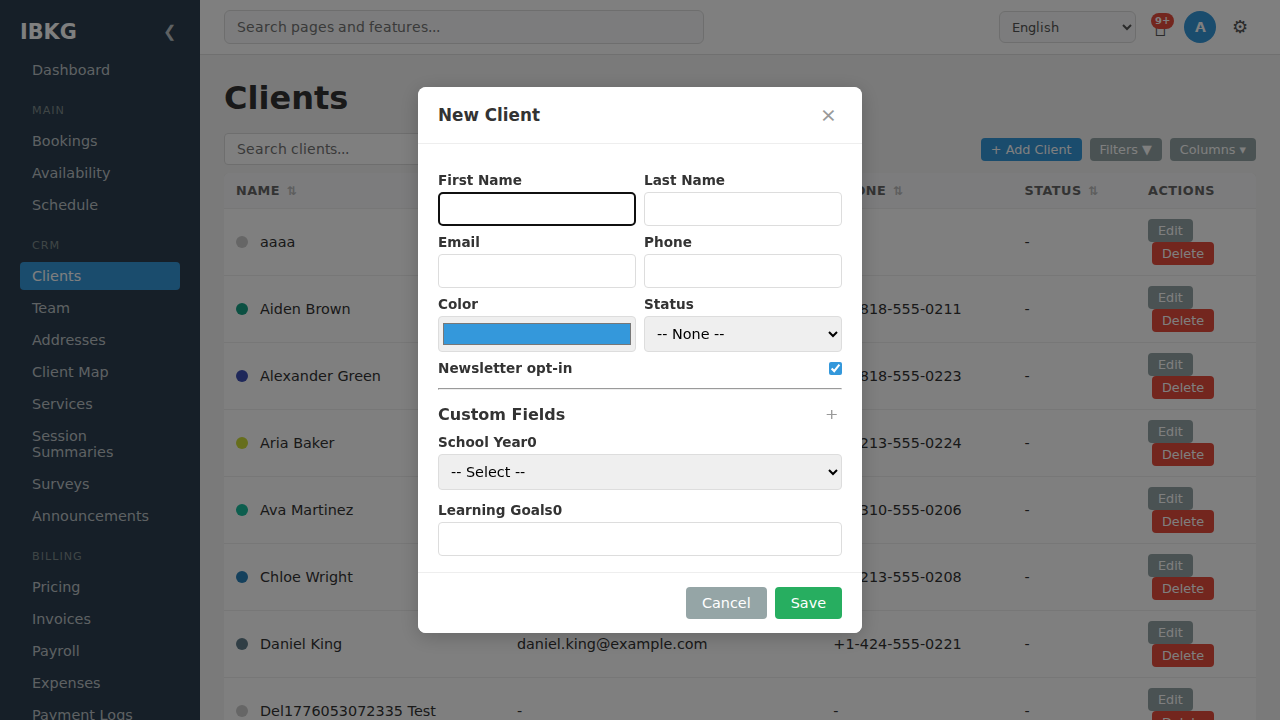
Fields available:
- First Name - required
- Last Name - required
- Email - used for sending invoices, booking confirmations, reminders
- Phone - optional contact
- Color - a visual tag used across the app (calendar dots, invoice rows, lists)
- Status - pick from your configured client statuses (Lead, Active, Inactive, Churned by default)
- Newsletter opt-in - flag for broadcast emails (doesn't send anything automatically)
- Custom Fields - any fields you've defined for clients (e.g. "School Year", "Learning Goals")
Only first and last name are required - everything else can be filled later.
3. Fill in the basics
Type the client's information. The colour swatch defaults to blue; click it to open a colour picker and pick something distinctive.
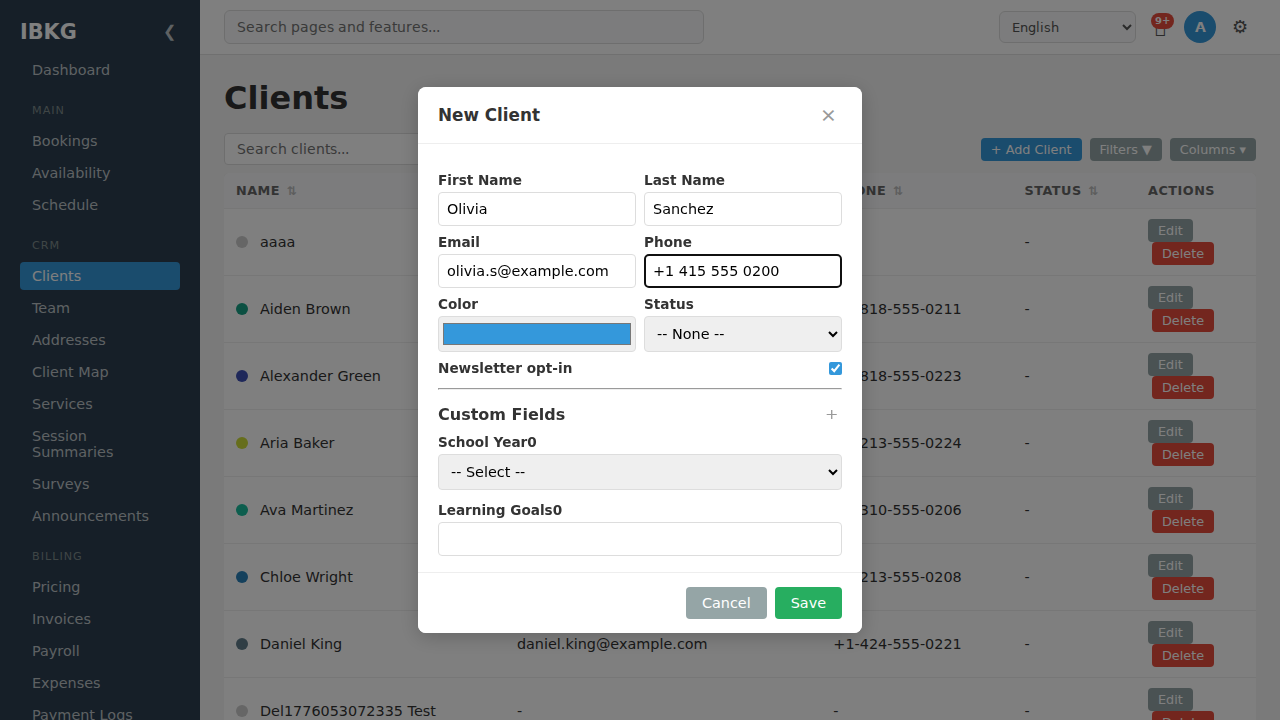
Tips for colour assignment:
- Group by age - blue for 10-12yr, green for 13-15yr, orange for 16+yr
- Group by service - purple for maths tutoring, yellow for language, etc.
- Just make it easy to scan - a busy calendar becomes readable when each client has a distinct colour
Custom fields
If your workspace has custom fields for clients (like School Year or Learning Goals shown above), they appear under the Custom Fields section. These are defined once at Settings -> Custom Fields and then show up on every client record.
Learn more at Custom Fields.
4. Save
Click Save. The modal closes and the client appears in the list immediately. Their status dot shows the colour you picked.
The client is now ready to be linked to:
- Sessions - as an attendee
- Invoices - as a billing recipient
- Booking requests - as an auto-linked guest when they book via your public page
5. Editing an existing client
Click Edit on any client row to reopen the modal with their details pre-filled:
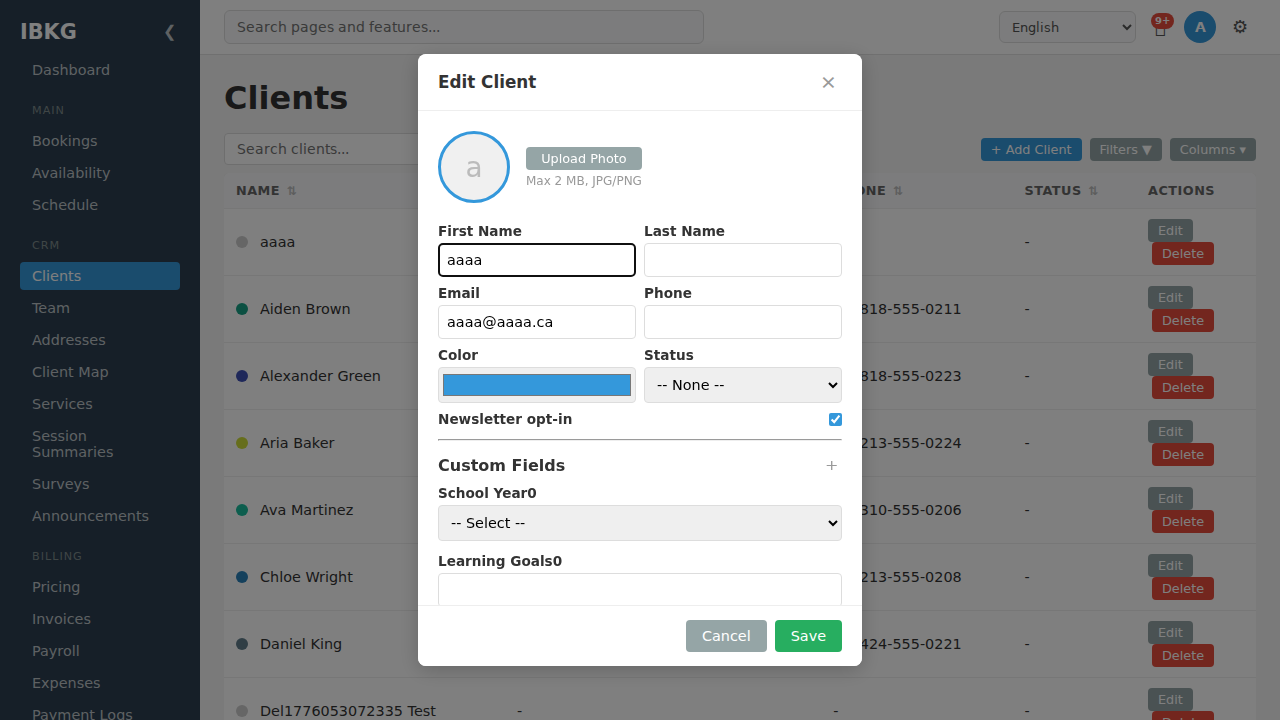
The edit modal also shows the Upload Photo control at the top:
- Click Upload Photo to pick a JPG or PNG (max 2 MB)
- The image is cropped square and shown across the app
- Click the trash icon to remove a photo
The photo appears next to the client's name in:
- The client list
- The session detail (calendar events)
- Invoice line items linked to the client
- Share pages (if you've enabled client names in the schedule share)
6. Deleting and restoring
Click Delete on any client row for a soft delete. The client is hidden from normal views but their data is preserved:
- Past sessions still reference them (historical reporting works)
- Past invoices still show them (audit log integrity)
- You can recover them via Show Deleted -> Restore
Permanent deletion is only available via the Recycle Bin in Settings.
7. Bulk and advanced operations
For managing many clients at once:
- Search - the top bar searches name, email, phone, status
- Filters - narrow by newsletter opt-in, status, custom field values
- Columns - hide columns you don't need to focus the view
- Sort - click any column header to sort
For importing hundreds of clients from another system, use the REST API. See Webhooks & API.
What's next
- Custom Fields - add fields beyond the built-in set
- Client Portal - let clients view their own schedule and invoices
- Your First Session - link this client to a session