Appearance
Inviting a Collaborator
Collaborators are people who help you run the business - co-owners, assistants, accountants, or partners. Each collaborator logs in with their own account and can switch into your workspace with the permissions you grant.
This tutorial walks through inviting your first collaborator. Takes about 4 minutes.
1. Open the Team page
Click Team in the sidebar (under CRM).
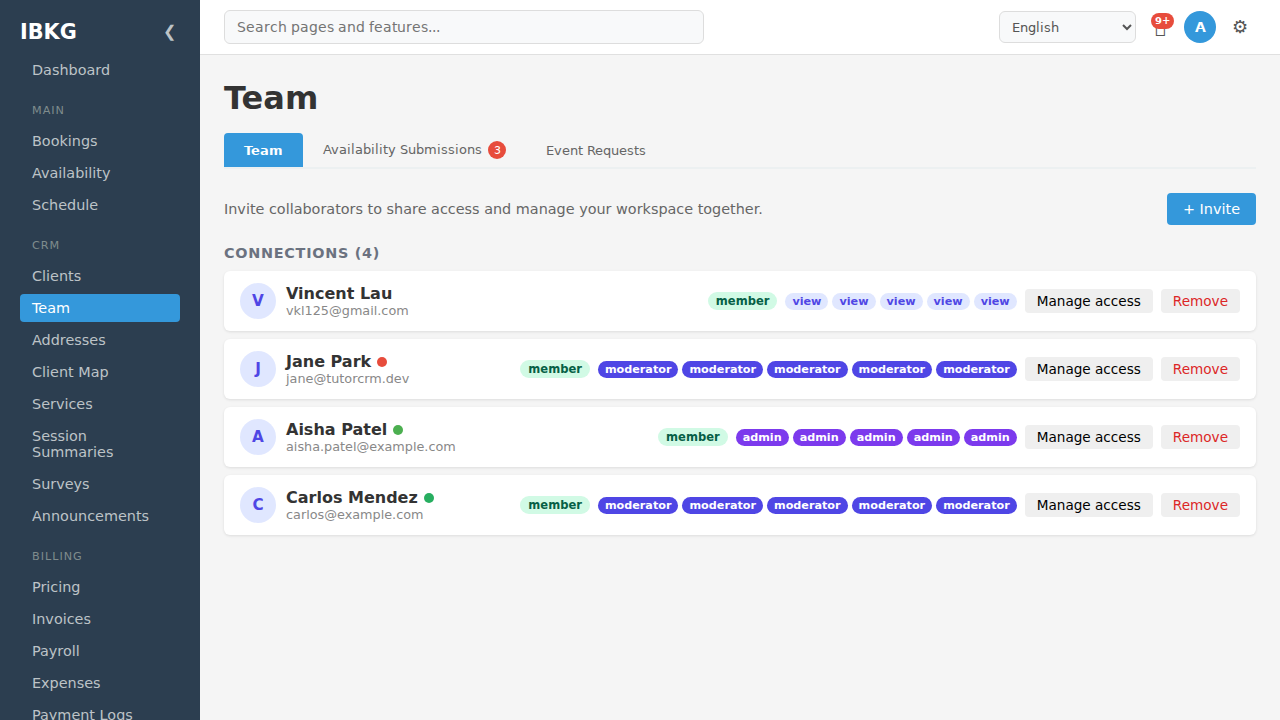
The Team page has three tabs:
- Team - your collaborators and their permissions (where we are)
- Availability Submissions - staff weekly availability pending your review (red badge shows count)
- Event Requests - staff-requested session cancellations and reschedules
The Team tab lists every collaborator under a Members heading. Each row shows:
- Avatar - first letter of their name
- Name - with a small colour dot if a colour was assigned
- Email - their login/contact email (or "no email")
- portal badge - shown when they have a portal login
- Remove - remove them from the workspace
Click + Invite at the top right.
2. The invite form
The invite form expands below the button:
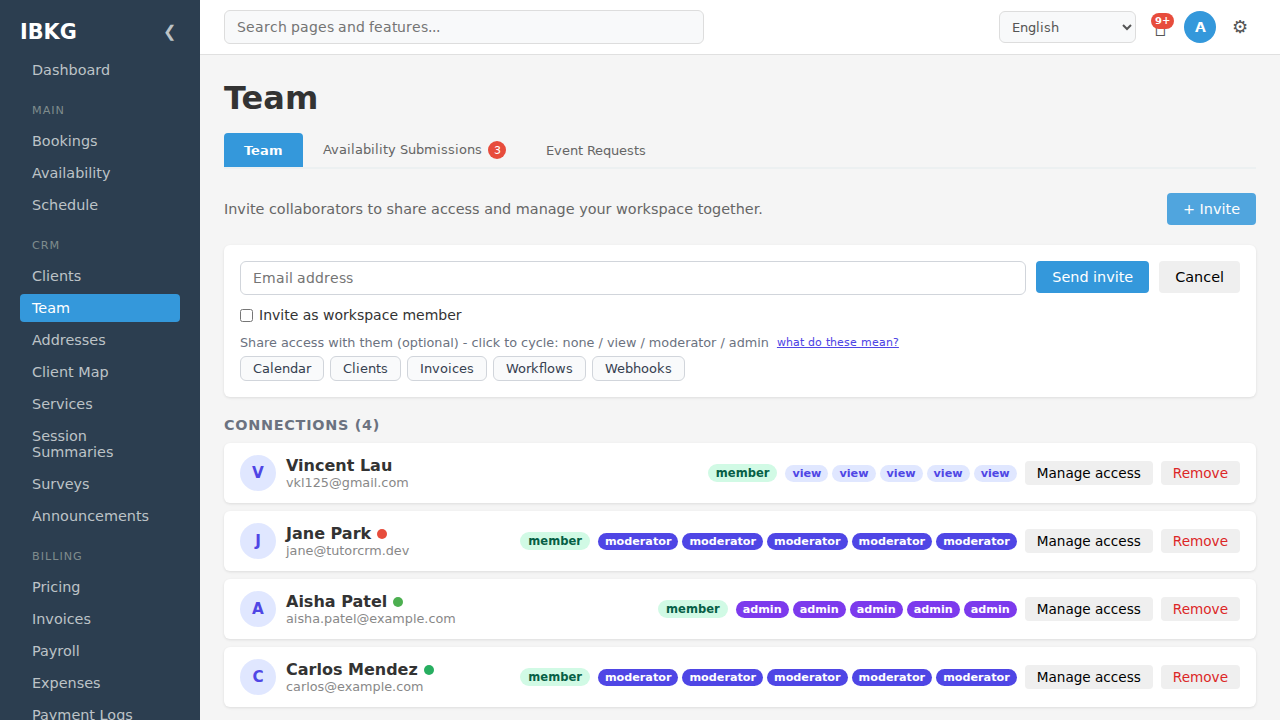
Fields:
- Email address (required) - where to send the invitation
- Pre-fill member details (name / rates) checkbox - optionally set up this person's member name and payroll rates now
The invite form only captures the email and (optionally) member details - it does not set permissions. What a collaborator can do is granted after they join, under Settings -> Permissions & Actions (see Granting permissions below).
3. Add payroll details (optional)
If this collaborator is also a paid worker (not just a partner who reviews things), tick Pre-fill member details (name / rates) to add payroll tracking:
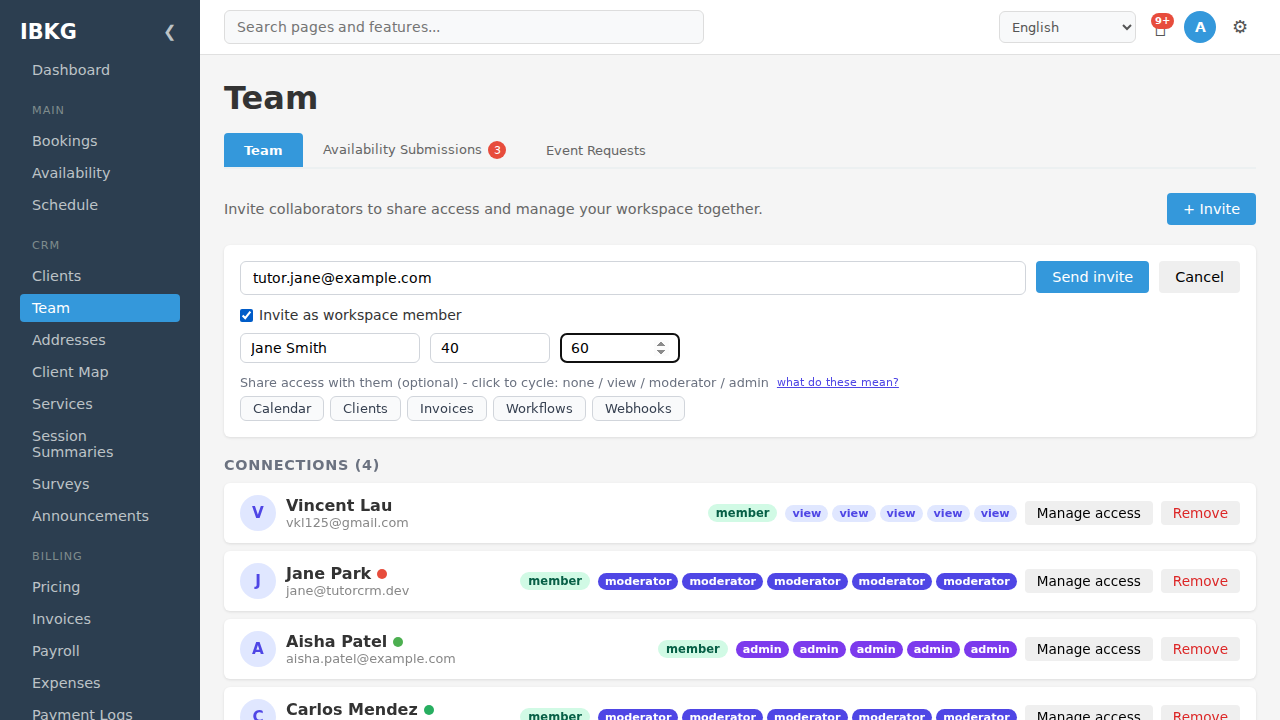
Three rate fields appear:
- Display name - shown on payroll statements (defaults to their full name)
- Hourly rate ($) - multiplied by total hours worked
- Session rate ($) - flat fee per assigned session
Rates combine - someone with $40 hourly and $60 per session would earn both for each session (see Payroll for the full calculation).
Permissions and roles are not set in this form - once the collaborator has joined you assign what they can do under Settings -> Permissions & Actions.
4. Send the invite
Click Send invite. Two scenarios:
If the invitee has a FoxCLM account
FoxCLM creates a pending invitation and notifies them in-app. Next time they open the Team page they see it under Invitations for you, where they can Accept or Decline.
- Accept - they join your workspace as a member and it appears in their workspace switcher.
- Decline - the invitation is rejected.
If the invitee doesn't have a FoxCLM account
FoxCLM emails them a claim link (valid 7 days). They click the link, create an account, and your workspace connection activates automatically.
You can see pending invites under the Pending invitations section on the Team page. Cancel any time before they're accepted.
5. What happens next
Once the collaborator accepts:
- Their name appears under Members
- They can log in, switch to your workspace, and see only what you've allowed
- You can adjust their permissions and roles at any time under Settings -> Permissions & Actions
- You can revoke access entirely with Remove
Granting permissions
Once a collaborator joins, they are a workspace member. You control what they can do under Settings -> Permissions & Actions, which has two tabs:
- Staff permissions - a per-member matrix of fine-grained action capabilities, grouped by domain: Contracts (create / edit / delete / submit / review / approve / sign), Invoices (create / edit / delete / submit / approve / send), Expenses (create / edit / delete / submit / approve), and Calendar (delete / import / export). Tick the exact actions each member may perform.
- Roles - reusable named bundles of those capabilities that you assign to a member instead of ticking each flag by hand.
Permissions are per-action, not a single view/moderator/admin level. Example setups:
- Accountant - Invoice create / edit / approve / send plus all Expense actions; no contract or calendar capabilities.
- Contract reviewer -
can_review_contract(andcan_approve_contractif they should sign off). Separation of duties still applies: a reviewer cannot approve a contract they drafted. - Teaching assistant - Calendar import / export, with member details enabled for payroll.
What's next
- Team Overview - the full staff vs. collaborators explanation
- Payroll - calculate pay for staff
- Staff Portal - what a worker-level person sees after logging in